The floor is in Stalin with reinforced concrete floors. Repairing a Stalin-era floor with wooden ceilings
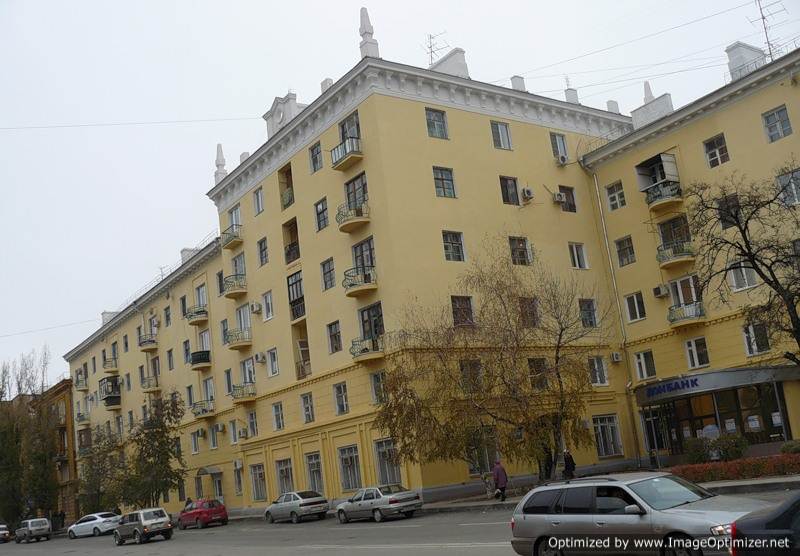
Possessing special durability, apartments in a Stalinist building are one of the most expensive options on the secondary housing market. In the 50s of the last century, the construction of buildings was of special quality, so even after 60 years, convenient layout and the reliability of buildings has not lost its relevance. But a long period of use leaves marks on the weak elements of the product. From this article you will learn the principles of repairing a floor in Stalin with wooden floors.
Design features of wooden floors in Stalin buildings
The ceilings in the living quarters of Stalin-built houses are made of wood.Support beams are considered the main part of the load-bearing structure frame structure. They bear the entire load, which is subsequently redistributed. Concrete multi-story ceiling, most often mounted above non-residential premises(bathroom, kitchen), apartments in Stalin buildings were installed above other rooms wooden beams.
Pros and cons of wooden floors in Stalinka
A floor made of wood has many advantages, but has a number of significant shortcomings. The main advantages of wood are ease of use and wide distribution of the material. And also, the key circumstance is that the structure is easily mounted in a brick, reinforced concrete or foam block base.
While there are many advantages, there are also disadvantages. Hypersensitivity to high humidity and high temperature fluctuations greatly increase the likelihood of rotting of the structure. Wood is susceptible to pests and is classified as a highly flammable material.
Options for repairing wooden floors in Stalinka
This procedure includes repairing floors, finishing walls and ceilings. Interfloor installation of logs is a painstaking work and is carried out mainly during major repairs or reconstruction of a house.
Ceilings and walls in Stalin with wooden floors were previously plastered using thin planks; the modern construction market offers several repair options:
- Completely remove the layer of plaster and reapply it. The method is quite expensive and requires a certain skill;
- Eliminate old plaster, and decorate the ceiling with plasterboard, followed by application emulsion paint. The walls are covered with wallpaper. On to the cons this option can be attributed to the reduction in the area of the room in Stalin;
- Recent technology that is in high demand - stretch ceiling.
Repairing the floor in Stalin. In this article we will focus in more detail on the restoration of wooden floors. Because of all the options, replacing the old floor in a Stalin-era building is the most labor-intensive process.
Advice: Before starting work, it is necessary to carry out preparatory work, decide on a list of tools and check the condition of the floor.
Tools and Supplies
Wood was used to build the Stalin coniferous species. To repair the flooring in a Stalin building you will need following materials and tools:
- edged board or floor lath 40 mm thick;
- timber 50 by 50 mm;
- nail puller;
- wood hacksaw;
- hydraulic level;
- hammer;
- nails or wood screws.
Manual a circular saw, a screwdriver or a hammer drill, can greatly facilitate the work, but you can easily do without them.
Preparatory work
Wooden flooring is the most environmentally friendly pure material ceilings However, the process of restoring wooden floors is lengthy and requires certain knowledge. In order for the floor in Stalin to please you with its impeccable appearance, it is necessary to thoroughly approach its repair. If Basic structure does not require replacement and is in excellent condition, you can refresh the floor by painting it again. Preparatory work before painting include:
- If there are cracks between the floorboards not exceeding 5 mm, they can be covered with a special mixture of sawdust and glue without dismantling the floor boards. To do this, clean the old layer of paint and putty with a spatula, take the rope and lower it into a container with a 15 percent solution of drying oil, when the rope is completely saturated, tamp it into the formed wooden floor gap. Leave until completely dry, usually 24 hours;
- After the rope has dried, it should be puttied with thick putty. Leave for 3 hours. Then walk through the restoration site, first large, then small sandpaper. On a note! If you use a stencil, the putty will not stain the floor surface, which does not require restoration.
- Thoroughly clean the floor boards in the steel frame, washing them with a weak soap solution If the floor has been waxed, this should also be removed. Since wax will prevent the paint from drying quickly and contribute to the formation of unevenness and swelling, which will significantly reduce its service life, paint coating. To remove wax, use water with soda ash, in a ratio of 1 glass of soda to 7 liters of warm water;
- Apply paint to the first layer, after the floor surface has completely dried, repeat the procedure, the number of layers depends on the individual characteristics of the floor.
- The final stage is to varnish the floor. Also produced in several layers.
Checking the condition of the floor
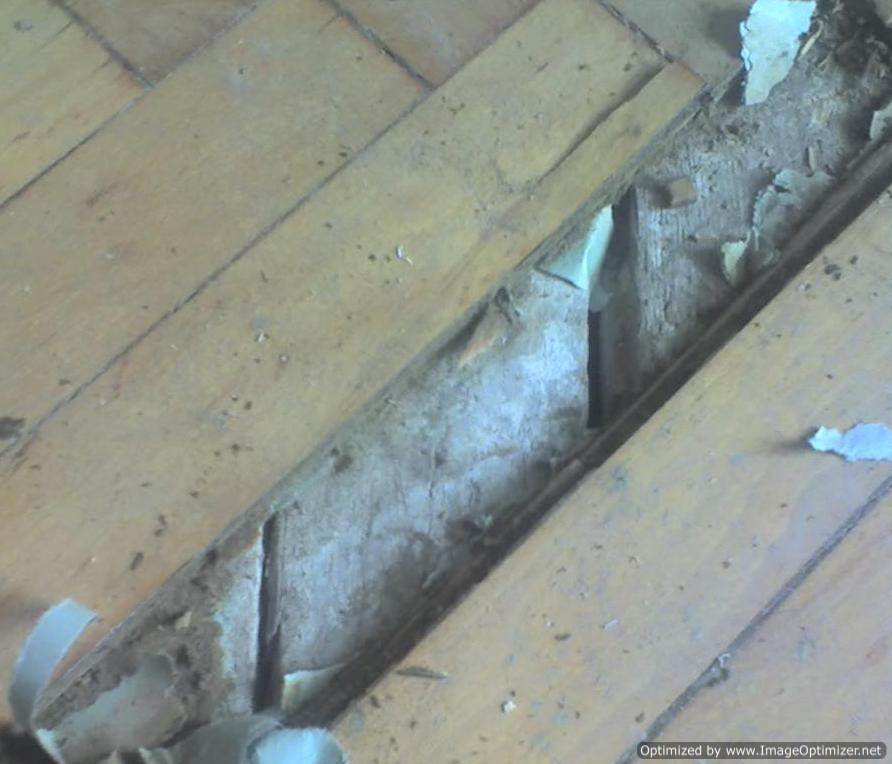
Determine the need for repairs wooden floor possible by visual inspection. The most pronounced factors that speak in favor of restoration include: creaking floorboards under load, the floor bends under the weight of furniture, water flows in one direction, cracks between floor boards exceeding 5 mm, mechanical damage to the structure, there are places of rotting and destruction. The detection of at least one factor from the list serves as the basis for the dismantling and reconstruction of wooden partitions.
 Carrying out visual inspection old floor for defects and rotting.
 Before you begin repairing the floor in a steel structure, you need to check the floor covering and decide on the scope of work. The following are subject to mandatory examination:
- Boards. If rottenness and deep cracks are detected, complete or partial replacement is required. To identify defects, use a hammer and tap it wooden surface, a dull sound when hitting the floor boards with a hammer indicates the need for repairs;
- Lags. Damage to the joists can lead to deformation of the floor, and the reduction to zero of all costs spent on cosmetic restoration. The lags are checked using an awl. They are passed along the entire length of the beam; if the awl easily fits into it, this serves as the basis for replacement;
- Subfloor for linoleum and laminate. If there is damage to this type of ceiling, it is necessary to carry out renovation work to eliminate defects;
- Nails. A rusty fastener also indicates the beginning of undesirable processes in a wooden floor.
Cracks, peeling paint, etc. minor defects signal that the floor in Stalinist style needs partial renovation. An existing creaking sound is an alarm bell, which serves as the basis for replacing the logs. A cold wooden floor indicates the need to completely remove the boards in order to carry out insulation work.
Sequence of work
Repair work on wooden floors in Stalinka includes:
- Dismantling the floor;
- Replacing lags;
- Replacement of rough and finished floors;
- Replacing insulation.
Removing the floor
As an auxiliary flooring Laminate or linoleum can be used. When dismantling a wooden floor, they must be removed. If there are skirting boards, they are also carefully removed, since they may still be useful. Next, the floor boards are removed, this is where certain difficulties may arise, since nails with a length of 5 cm were sometimes used in steel frames to fasten wooden boards.
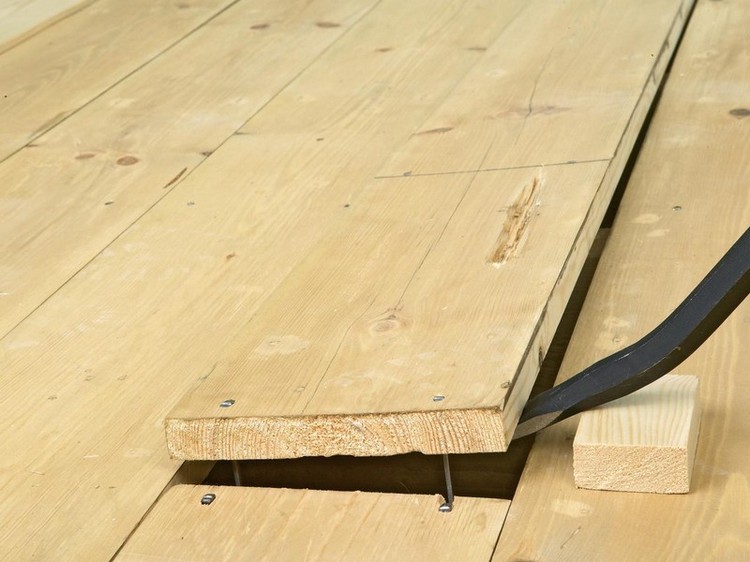 In order to remove the old woodpile, you can use a crowbar; if the nails are too long, you can put a block under the crowbar.
 To dismantle the floor in a Stalinist apartment, you need to find an area in the floor with a crack, insert a small crowbar or a nail puller into it, pry it up and tear off the woodpile. We do this with all the boards, then we need to remove the remaining nails.
If there is rough material for linoleum or laminate, remove it too. Until only wooden floor beams remain on the floor. We assess the condition of the beams, and if they are damaged, we install them. The sequence and features of installation of beams are described below.
Installation of logs
If there is a source of dampness, it must be eliminated. Before proceeding with installation, it is necessary to dry the base to increase the service life of the wooden floor. In areas with damaged foundations, a concrete screed is made; after the foundation has completely dried, waterproofing should be installed to reduce the risk of flooding of neighbors. Next step by step:
- Beams are placed from the highest point;
- The fastening bolts are screwed in every meter, the direction of the beams is set independently, this does not play a special role. Experts recommend placing short wooden beams along the wall to simplify the alignment process;
- The beams are fixed directly into the concrete using anchor bolts. The height is adjusted using a backing made of wooden blocks;
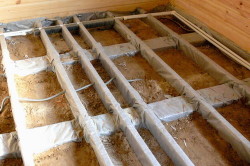
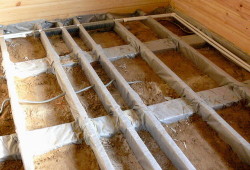
- The space between the floor beams is filled with noise-absorbing materials and insulation.
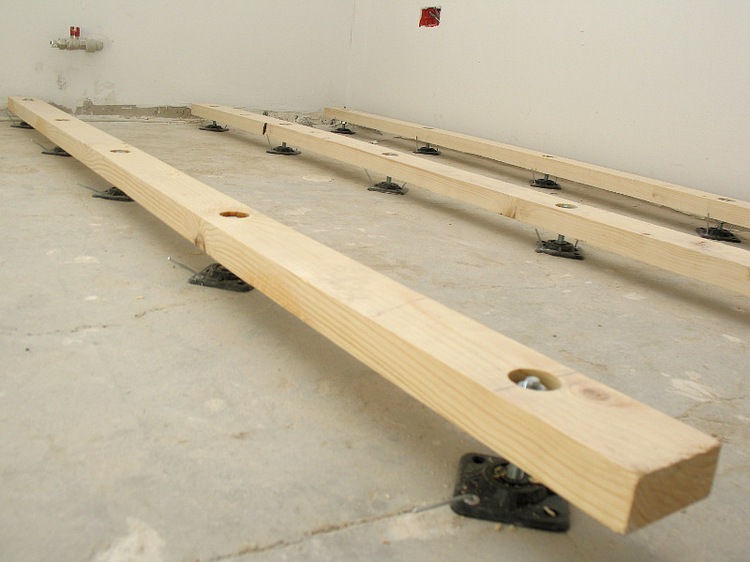 Convenient solution are adjustable logs that are installed on special racks.
 If concrete base weak, it is better to use the help of a professional, believe me, it will be cheaper and safer.
The pitch and size of the lag depends on the expected load. Basically, the distance between the beams is 60 cm, the thickness of the board in this case is 35 mm. When using floor boards 20 mm thick, the distance between the joists is 30 cm.
Installation of subfloor
The flooring of the rough construction does not have any significant differences, whether it is an apartment in Stalin or a private house. The most important thing in this matter is to properly secure the logs. The lower level is necessary to distribute the insulation on it. For rough flooring, take a dry board treated with an antibacterial compound approximately 40 mm thick. Rough flooring comes in the form concrete screed, and also made of boards.
Installation of the rough structure is carried out across the logs with fastening to the timber. Floor boards in Stalin are screwed using wood screws. The flooring should not have any cracks; if there are any, it is necessary to fill them with foam for installation work. After the foam has dried, the excess is removed. The rough version can be used as a basis for laminate and linoleum.
Installation of insulation
There is no need to be negligent in the floor insulation procedure, since even a warm floor is much preferable to a cold one. High-quality filling of the underground space is the key to long-term operation. The following materials are used as insulation: mineral wool, expanded clay, polystyrene foam.
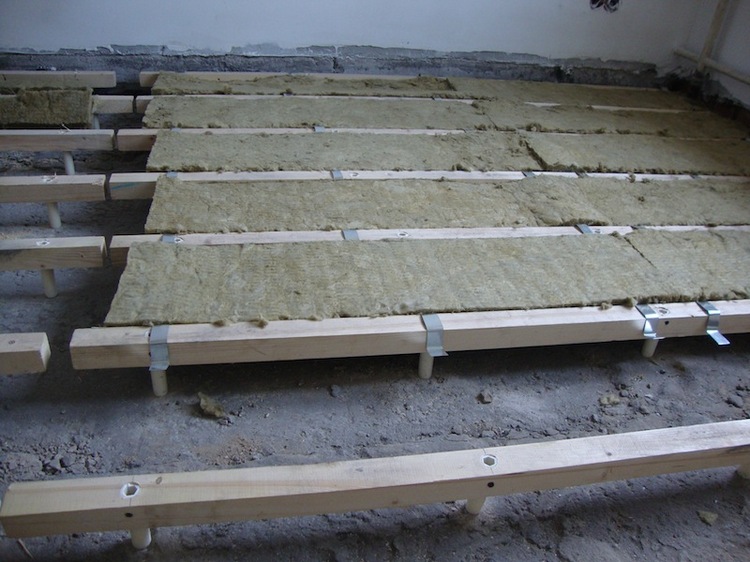 Floor insulation with mineral wool, which is placed between the joists.
 Finished flooring
Repair of wooden floors in Stalinka is completed with finishing flooring. For this purpose, use a 40 mm thick floor strip, a special lock system prevents the formation of cracks if the material dries out. It is necessary to start repairing the floor in Stalin from the far wall, which is located on the opposite side of the doorway.
We lay the first board with the ridge against the wall, leaving the necessary gap for ventilation not exceeding 1.5 cm. We hammer a nail into the ridge or screw in a self-tapping screw and on the opposite side do the same at an angle of 45 degrees into the groove. We attach the following boards to the joists only in the grooves.
Repair wooden structures Finish by coating the boards with a protective varnish. If it is planned to use laminate or linoleum, a sheet of chipboard is laid on top of the finished floor, or a concrete screed is made.
Let's sum it up
Replacing a wooden floor is identical, both for Stalin and for other types of housing. Compliance with the principles of replacement technology and a careful approach to repairs contribute to obtaining the desired result. The only thing important rule- usage quality material and pre-treatment of floor boards with antimicrobial agents.
- Eliminate cracks, get rid of squeaks
- Leveling the floor: features of using logs
- Installation of logs on the base
- Wood floor covering
Stalin's houses are considered quality housing. The construction of such houses took place around the 50s, but the buildings still remain strong and reliable. However, time still takes its toll; the floors in such houses require repair. Why is this happening? The roofs of the buildings were made of wood, and this material does not last forever. Gradually, the boards become loose, dry out, cracks form, and the logs rot. Repairing a Stalinist floor involves eliminating all these troubles. It is often carried out together with leveling the base to match the selected floor finishing material.
Stalinka buildings are quite old, which is why the floors in them require major repairs.
Such defects are caused by the following reasons:
- Wood is sensitive to changes in humidity and temperature.
- Installation of such floors is labor-intensive; when the floor joists and sheathing are completely replaced, it requires not only time, but also physical effort. For example, cement strainer poured onto the surface, after which you need to wait for it to dry.
- Boards and others wooden elements subject to rotting. During repairs, all surfaces additionally require treatment with antiseptics.
The main advantage of a wooden floor is its rich appearance.
It’s not all bad; wooden floors also have numerous advantages:
- Their cost is much less than reinforced concrete slabs and cement screeds.
- The weight of the wooden floor is small; the load on the building structure is not so significant.
- During repairs, you can only replace individual damaged elements, and not the entire coating.
Eliminate cracks, get rid of squeaks
Repairing a Stalinist floor may not be so comprehensive. In some cases, it is enough to seal the cracks between the boards. It is recommended to purchase a special putty for wood or prepare the mixture yourself. It should contain PVA glue and sawdust. The mixture is thoroughly mixed, after which all the cracks are filled with it. They must first be cleaned.
The repair procedure is as follows:
- The floor covering is removed, after which the base is inspected.
- The cracks are cleaned of dust and dirt. For this, brushes and a narrow metal spatula are used.
- Next, the mixture is prepared for work; the cracks will be filled with it.
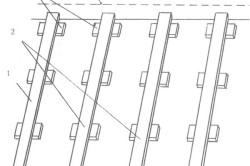
Lag laying scheme: 1 - lighthouse log; 2- intermediate logs; 3 – gaskets made of fibreboards; 4 – finished floor level.
If the cracks are large, then it is necessary to dismantle such boards and replace them with new ones. Otherwise, the coating will not last long; repairs will still have to be made by replacing the base sheathing. Another problem is eliminating squeaking. This situation occurs due to the fact that the boards dry out and become covered with cracks. When walking, they begin to move and sag, causing an unpleasant and annoying creaking sound. You can get rid of it if you perform the following set of actions:
- The floor covering is removed, after which the base of the floor is carefully inspected.
- All boards that show signs of damage must be removed immediately, and if necessary, the rest must be remade.
- If everything is in order with the plank base, then the creaking can be caused by loose joists; they also need to be reinstalled.
Stalinka is usually distinguished by high-quality buildings, but the wood still dries out with prolonged use. Rotten logs and boards are removed and replaced with new ones. The wood must first be treated with an antiseptic to protect it from rot and mold.. It is important to ensure that the wood is dry; wet joists or boards will cause a defect and a new squeak to appear.
Return to contents
Leveling the floor: features of using logs
During floor repairs, leveling work is carried out simultaneously. The process requires a certain amount of time. First you need to completely remove all the boards and remove the material that fills the space between the joists. Previously, instead of insulation they used construction garbage. It is completely unsuitable for reuse, so you need to immediately prepare to remove a large amount of garbage.
When laying logs, they must be protected from moisture using polyethylene.
When the space between the joists is cleared, it is necessary to carefully inspect their condition and check the horizontality of the surface building level. If the lags are in order, then they can be used further. If there are numerous cracks or signs of rot, you will have to replace them. For flooring purchase wooden beams, they are mounted on the surface in increments of 60-100 cm. The cross-section can be taken as previously used. When making your own selection, you need to pay attention to how long the span is needed:
- for a span of up to 1 m, it is necessary to use timber whose cross-section is 110*60 mm;
- with a span of up to 2 m, the section of the beam should be 150 * 80 mm;
- with a span of up to 4 m, the cross-section is 180*100 mm;
- if the span length is up to 5 m, then the timber should be taken at 200 * 150 mm;
- with a span of 6 m, it is necessary to use a beam of 220 * 180 mm.
When repairing floors in Stalin, you need to pay attention to the pitch of the lag. Today, when leveling, not only are they used edged boards, but also OSB boards, plywood sheets. The pitch required for these materials is different.
For edged board:
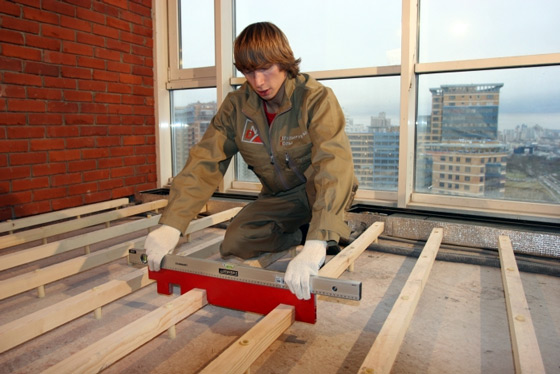
So that there is no distortion. You need to use a level to check the height of each joist.
- with a thickness of 20 mm, the step is up to 30 cm;
- with a thickness of 25 mm, the lag pitch is 40 cm;
- for a board 35 mm thick, a step of 60 cm is used;
- for boards up to 40 mm, the step is 70 cm;
- for a 45 mm board the step is 80 cm;
- for boards up to 50 mm, the lag pitch is 100 cm.
For plywood sheets and OSB boards:
- for flooring with a thickness of 15-18 mm, the lag pitch is 40 cm;
- for flooring of 22-24 mm, the step increases to 60 cm.
Publication date: 08/23/2015
Houses that were built back in the 50s of the last century were and are still called Stalinka buildings. In addition, this name is associated with the concept of high-quality, solid buildings that were so well built in their time that they are in demand among many buyers today.
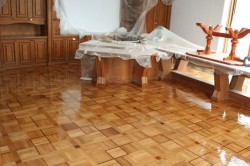
Stalin floor after renovation
Over time, any housing falls into varying degrees of disrepair, so reconstruction is indispensable. Housing problem is also covered in its associations; it is not for nothing that it is said that during repairs it is like during a fire. But if you approach this issue wisely, then redevelopment can be carried out in short time and with minimal losses financially and morally.
True, in many cases it comes only to wallpapering and Stalinist painting. In fact, it's not easy redecorating. A new floor can dramatically transform a room without affecting other design elements. This article is devoted to this issue.
Why is it necessary to repair the floor in a Stalin building?
The answer to this question can be found if you understand what a standard Stalin floor consists of:
- the base of the floors (it can be wooden or concrete);
- waterproofing layer;
- layers of materials that serve as good sound and heat insulators;
- or subfloor made of wood;
- finishing material.
Repairing the floor in a Stalin building is necessary for the following reasons. Floors can often become very dry, especially if the apartment has been flooded in the past. Some of the boards are capable of “springing”, which affects the surface of the floors. He can make very unpleasant sounds and creaking. This indicates possible damage to the base.
The old housing stock is not distinguished by the quality of its finishing, so in most cases it is necessary to carry out a major reconstruction of the floor. This also applies to Stalinist floors today. Often there is no point in remodeling, but simply replacing old floors with new ones. Complete replacement may be associated with significant distortions, which the cosmetic option cannot easily eliminate.
Since no one is surprised by the fact that almost the majority of floors in Stalin’s houses were made of parquet, it is worth paying attention to this Special attention. We will talk about replacing the old parquet flooring. Or rather, you will need to do parquet boards. Some details should be taken into account:
- It is imperative to know and have an idea about the condition of the parquet floor in a specific situation;
- It is necessary to clearly know what type of wood was used as a parquet board;
- You will definitely need an exact plan for laying the parquet boards.
Stalin floors are most often replaced with a self-leveling screed made from a special composition of materials, followed by laying a new coating. You can tackle the floors along the joists and replace everything structural elements, and then proceed to the decorative flooring.
Reconstruction of the floor can be done on the basis adjustable plywood or do similar work only with adjustable joists. There can be many options, it all depends on the specific condition of the floor.
Return to contents
Range of work
As always, a good start must be made. First of all, you will have to check the floors for significant and minor damage.
An apartment in a Stalinist building can be perfectly preserved, but it can also present unexpected surprises, suggesting some radical alterations, especially in underground space. Need to see wooden joists, bars. They play a decisive role in the entire design, so you need to start with them. Next, the surface of the flooring is checked.
Sometimes, when changing the floor covering, the question may arise of removing several partitions, which not only spoil the view, but also interfere with the installation. major renovation floor. In other cases, under qualitative wooden planks Rotten logs can often be hidden. This must be taken into account in any case.
After this, you need to decide what type of flooring will be most suitable for the new design of the apartment, determine the cost of materials and the features of their operation.
The features of repairing a Stalin-style floor will largely be determined by how intact and undamaged the floors remain, whether there are any unevenness, etc. The subfloor may be well preserved, in which case there is no point in talking about replacement. You can carefully check the boards for squeaks and evenness, and then proceed to laying the new flooring.
Floors can be leveled by laying new underlays; it will not be superfluous to plan out small uneven areas with an electric planer. Next you need to proceed from the specific situation. So, it is often necessary to replace individual boards, and sometimes rotten joists.
They change the lags following this algorithm of actions. First, the slag that covered the old structure is removed. Instead, a lighter analogue is poured, for example, you can use expanded clay, which also has soundproofing qualities. You will also need to lay a waterproofing layer.
The creaking can be removed by replacing several boards. In this case, the logs will have to be moved a little. Dry floor boards should be removed.
Gaps and cracks must be sealed with special solutions and putty well. You can get rid of gaps by carefully connecting the boards relative to each other.
Flooring on floor beams
You can level the floor with dry screed slabs (gypsum fiber sheets - GVL), which are secured with glue and self-tapping screws. This type of screed has advantages over the standard wet one: it lightweight design, easy to install, reliable. Only after this can the selected flooring be laid on top. Note that when repairing the floor in a Stalin bathroom, you should use waterproof gypsum fiber boards (GVLV).
Finally, you need to do something, which is not so difficult.
In this article we will step by step analyze the repair of the floor in Stalin, its features and methods of execution. First, let's look at the very concept of “Stalinist”. That's what they call it multi-story houses, built in the fifties of the last century.
The apartments in them have thick walls, high ceilings and wide windows.
High quality Such housing makes real estate buyers still hunt for them. But sooner or later good repair even necessary nice apartments. So in this case, the floor in a Stalinist house, which in its age has already exceeded half a century, needs partial or complete replacement.
Prerequisites for restoration
What bells can tell us that repairs to floors in Stalin buildings are already necessary?
This:
- Dried boards. This result is almost inevitable if during the entire period of existence of the apartment, it was flooded with water at least once.
- “Walking” of coating elements. Occurs as a result of damage to the base.
- Wear of the finishing coating. It was not initially installed as original, plus time does its dirty work.
By the way, time is another factor in favor of restoration, since most components, such as waterproofing and thermal insulation, have long expired.
Based on the above considerations, it follows that the best option There will be a major replacement of the floor in the Stalinist house, and not its cosmetic renovation. Since eliminating only some external signs will force you to return to the problem soon.
Methods and implementation of restoration
Repairing the floor in a Stalinist house begins with a thorough check of its condition, and as faults are identified, repair work is carried out.
Namely:
- We remove parts of the finishing layer, while numbering each position.
- We check the condition of the joists and beams for physical damage and rotting. They, being the foundation, play the most important role.
Advice: if the insulation material is the same one that was laid during the construction of the entire building, then it is advisable to replace it even if the appearance is satisfactory.
Since its service life has long expired, it definitely does not perform the full range of its functions.
Replacing parquet
Most apartments of the type we are considering have parquet floors.
If the check shows a satisfactory condition of the lower support layer, then we proceed to check the final coating, which you can easily do with your own hands:
- We remove all parquet components. In this case, it is also necessary to know what kind of wood acts as a coating in this case.
- During removal, we number each part so that we don’t have to adjust the boards in the future.
- We replace products that have become unusable.
- We put the parquet back.
The price of such repairs is the lowest, but as we noted earlier, it will most likely not be possible to limit ourselves to such a small amount of work.
New rough layer
In more severe cases, in which most of The underground beams and outer layer have fallen into disrepair; the floors in Stalinist houses require more drastic restoration measures.
- We tear off the old logs, replacing them with new bars.
- Processing antiseptics for protection against pests.
- We place insulation material in the niches between the joists: mineral wool, expanded clay, polystyrene, foam.
- We install it on top. This allows you to level the surface for any new topcoat and provides additional reliability.
- We choose what we want to observe from above and edit it.
Concrete screed
The instructions for concreting have some of their own characteristics and are, in fact, an alternative to completely replacing the floor using joists.
- We remove absolutely the entire floor down to the tiled floor.
- We prepare the base: carefully clean it, seal the cracks, eliminate the hills.
- Stem waterproofing in the form polyethylene film at least three millimeters thick.
- We make a solution. This is either cement and sand, mixed one to three, or a cement-sand mixture, or, which is even better, but also more expensive, a mixture of self-leveling floor. Mix any of these substances with water.
- We set up beacons for them too.
- We wait for it to dry completely and then we can install any finishing coating we like.
Conclusion
Having an apartment as wonderful to this day as Stalinka, you should worry about its condition. A very respectable age could have rendered many of its architectural elements unusable. And the floor, as the part that experiences the most stress, probably suffered the most.
Stalinka is good and reliable, and a good and high-quality floor in it is even better!" width="640" height="360" frameborder="0" allowfullscreen="allowfullscreen">
The video in this article will provide even more interesting information on this material.
Stalinka is good and reliable, and a good, high-quality floor in it is even better!
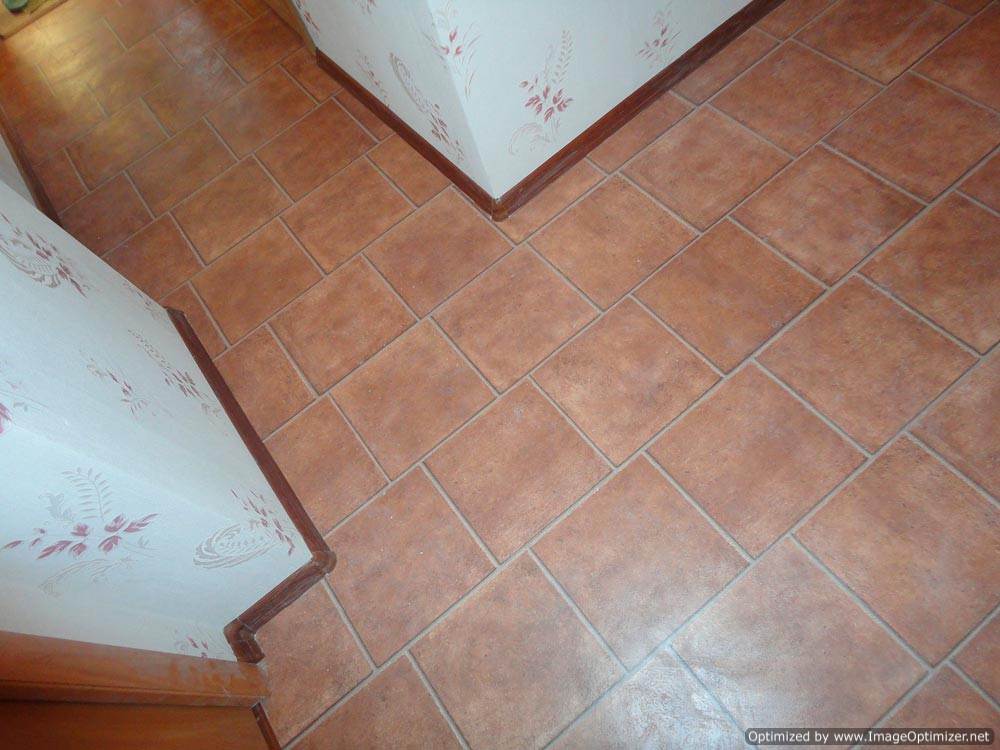
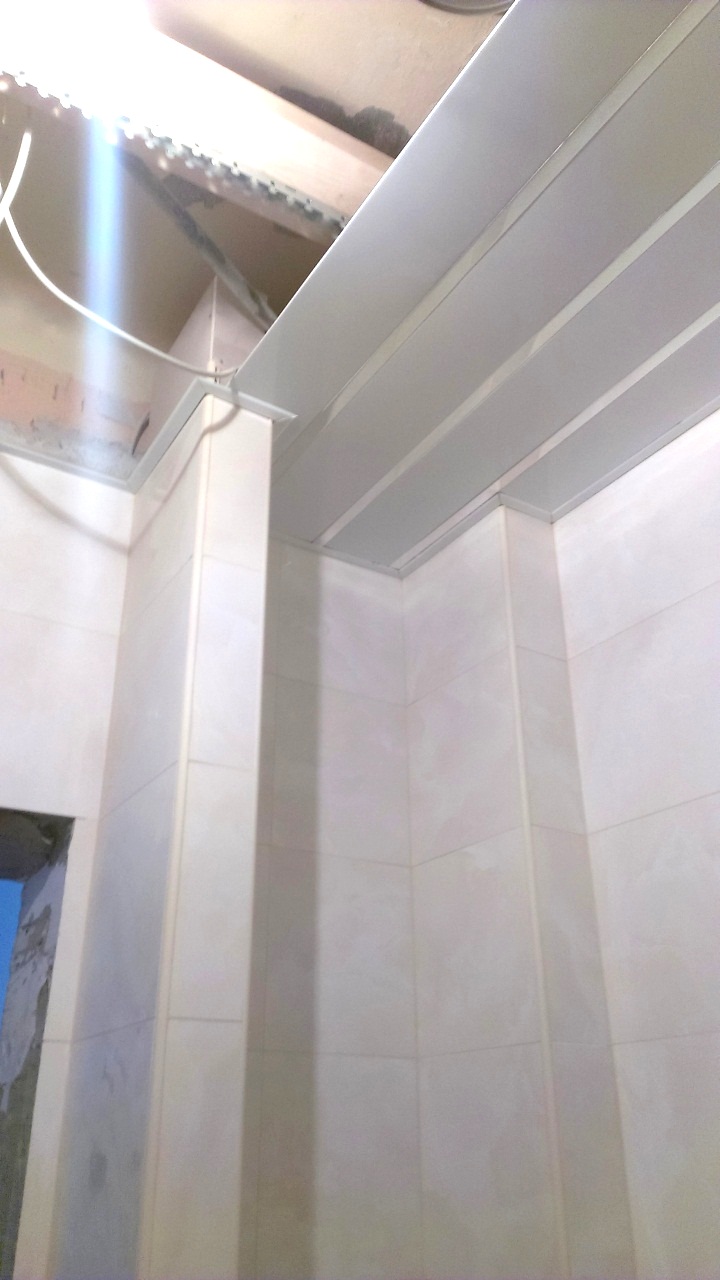
Laying floor tiles
![]()


Installation of interior materials
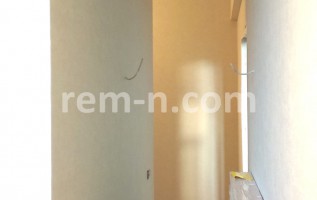

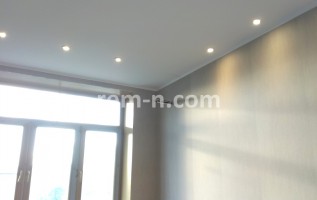
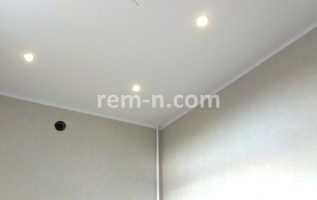

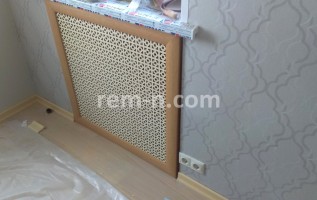
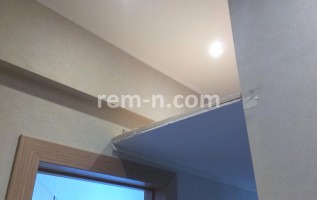
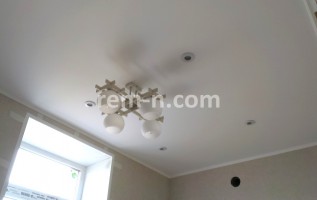

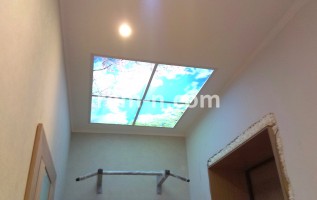
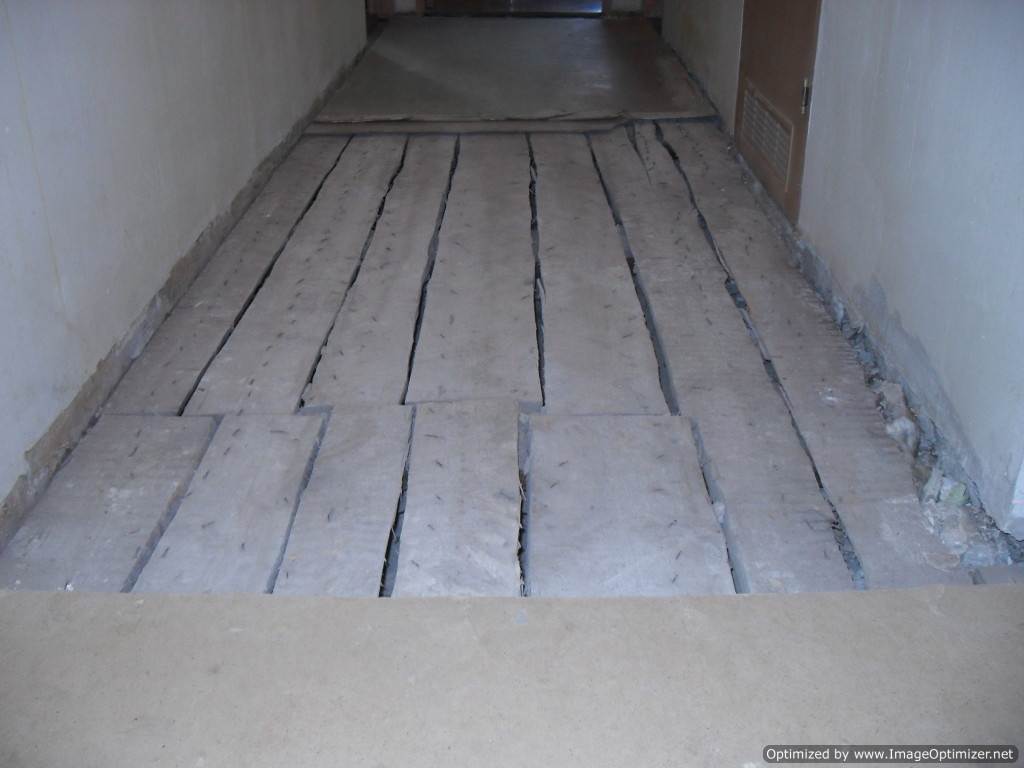
Photo before renovation
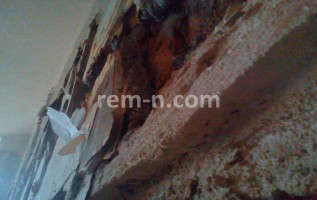
Full complex completed dismantling works. The walls and the upper part of the wooden floors of all floors were dismantled. Plumbing and electrical wiring has been removed. After dismantling, five eight-cube containers of garbage were removed.
![]()
Cost of repairs in "Stalin"
How much does it cost to renovate a “Stalinist” apartment? The cost of repairs in "Stalin" is determined by the types of work and their volume. For your convenience, our price list is divided into categories. In addition to the work, to calculate the full cost of repairs, it is necessary to take into account the costs of materials, their delivery and lifting, removal and garbage disposal.
Renovating apartments in “Stalinist buildings”, in comparison with finishing apartments in other types of buildings, is the most difficult, and, accordingly, the most expensive in cost and the longest in terms of completion time. If a major renovation was carried out in the apartment after the first residents moved in, you can get by with a simple renovation of the interior. And if major repairs have not been carried out, cosmetics will not help! It will be necessary to replace all utilities and replace unstable walls. And if the house has wooden floors, the joists may also need to be replaced.
Features of apartment renovation in a “Stalinist” building
Renovating apartments in “Stalinist” houses is not an easy task, but the scope for creativity in creating an interior is much greater than in standard ones panel houses. The rooms have an impressive area and high ceilings. When carrying out repairs in a “Stalinist” house, redevelopment of the apartment is allowed, but only not load-bearing partitions. Large window sills, if handled skillfully, can turn into winter Garden or a summer greenhouse. Corridors - into an art or photo gallery, interior openings - into arches or glass doors. High ceilings can be made either painted with stucco or, for example, multi-level with many lamps.
Repair of the floor in the "Stalin"
The most important difference that affects the complexity of floor repair is the type of flooring. In "Stalinist" houses there can be both reinforced concrete and wooden floors.
With reinforced concrete floors
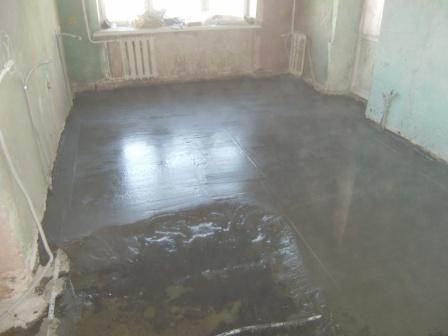
If repairs to the “Stalin” building have not been made since the house was built, most likely, wooden logs will be laid under the entire floor area, under the parquet, and expanded clay will be filled in. Hardboard is laid on expanded clay sand, and parquet is laid on hardboard. In this case, the parquet and hardboard are dismantled and thrown away. Expanded clay sand, depending on its condition, is either left or changed. The logs are dismantled. Liquid solution is spilled onto expanded clay sand sand-cement mixture. After the first layer has hardened, a sand concrete screed is poured, mixed with the self-leveling floor. It is not recommended to fill the entire height (which is from 20 to 30 cm) with screed instead of logs and expanded clay, as this significantly increases the load on the structure of the house. Plus it will be more expensive.
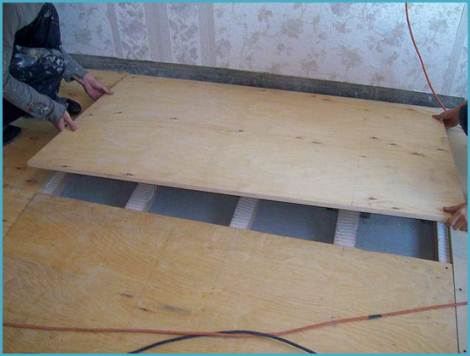
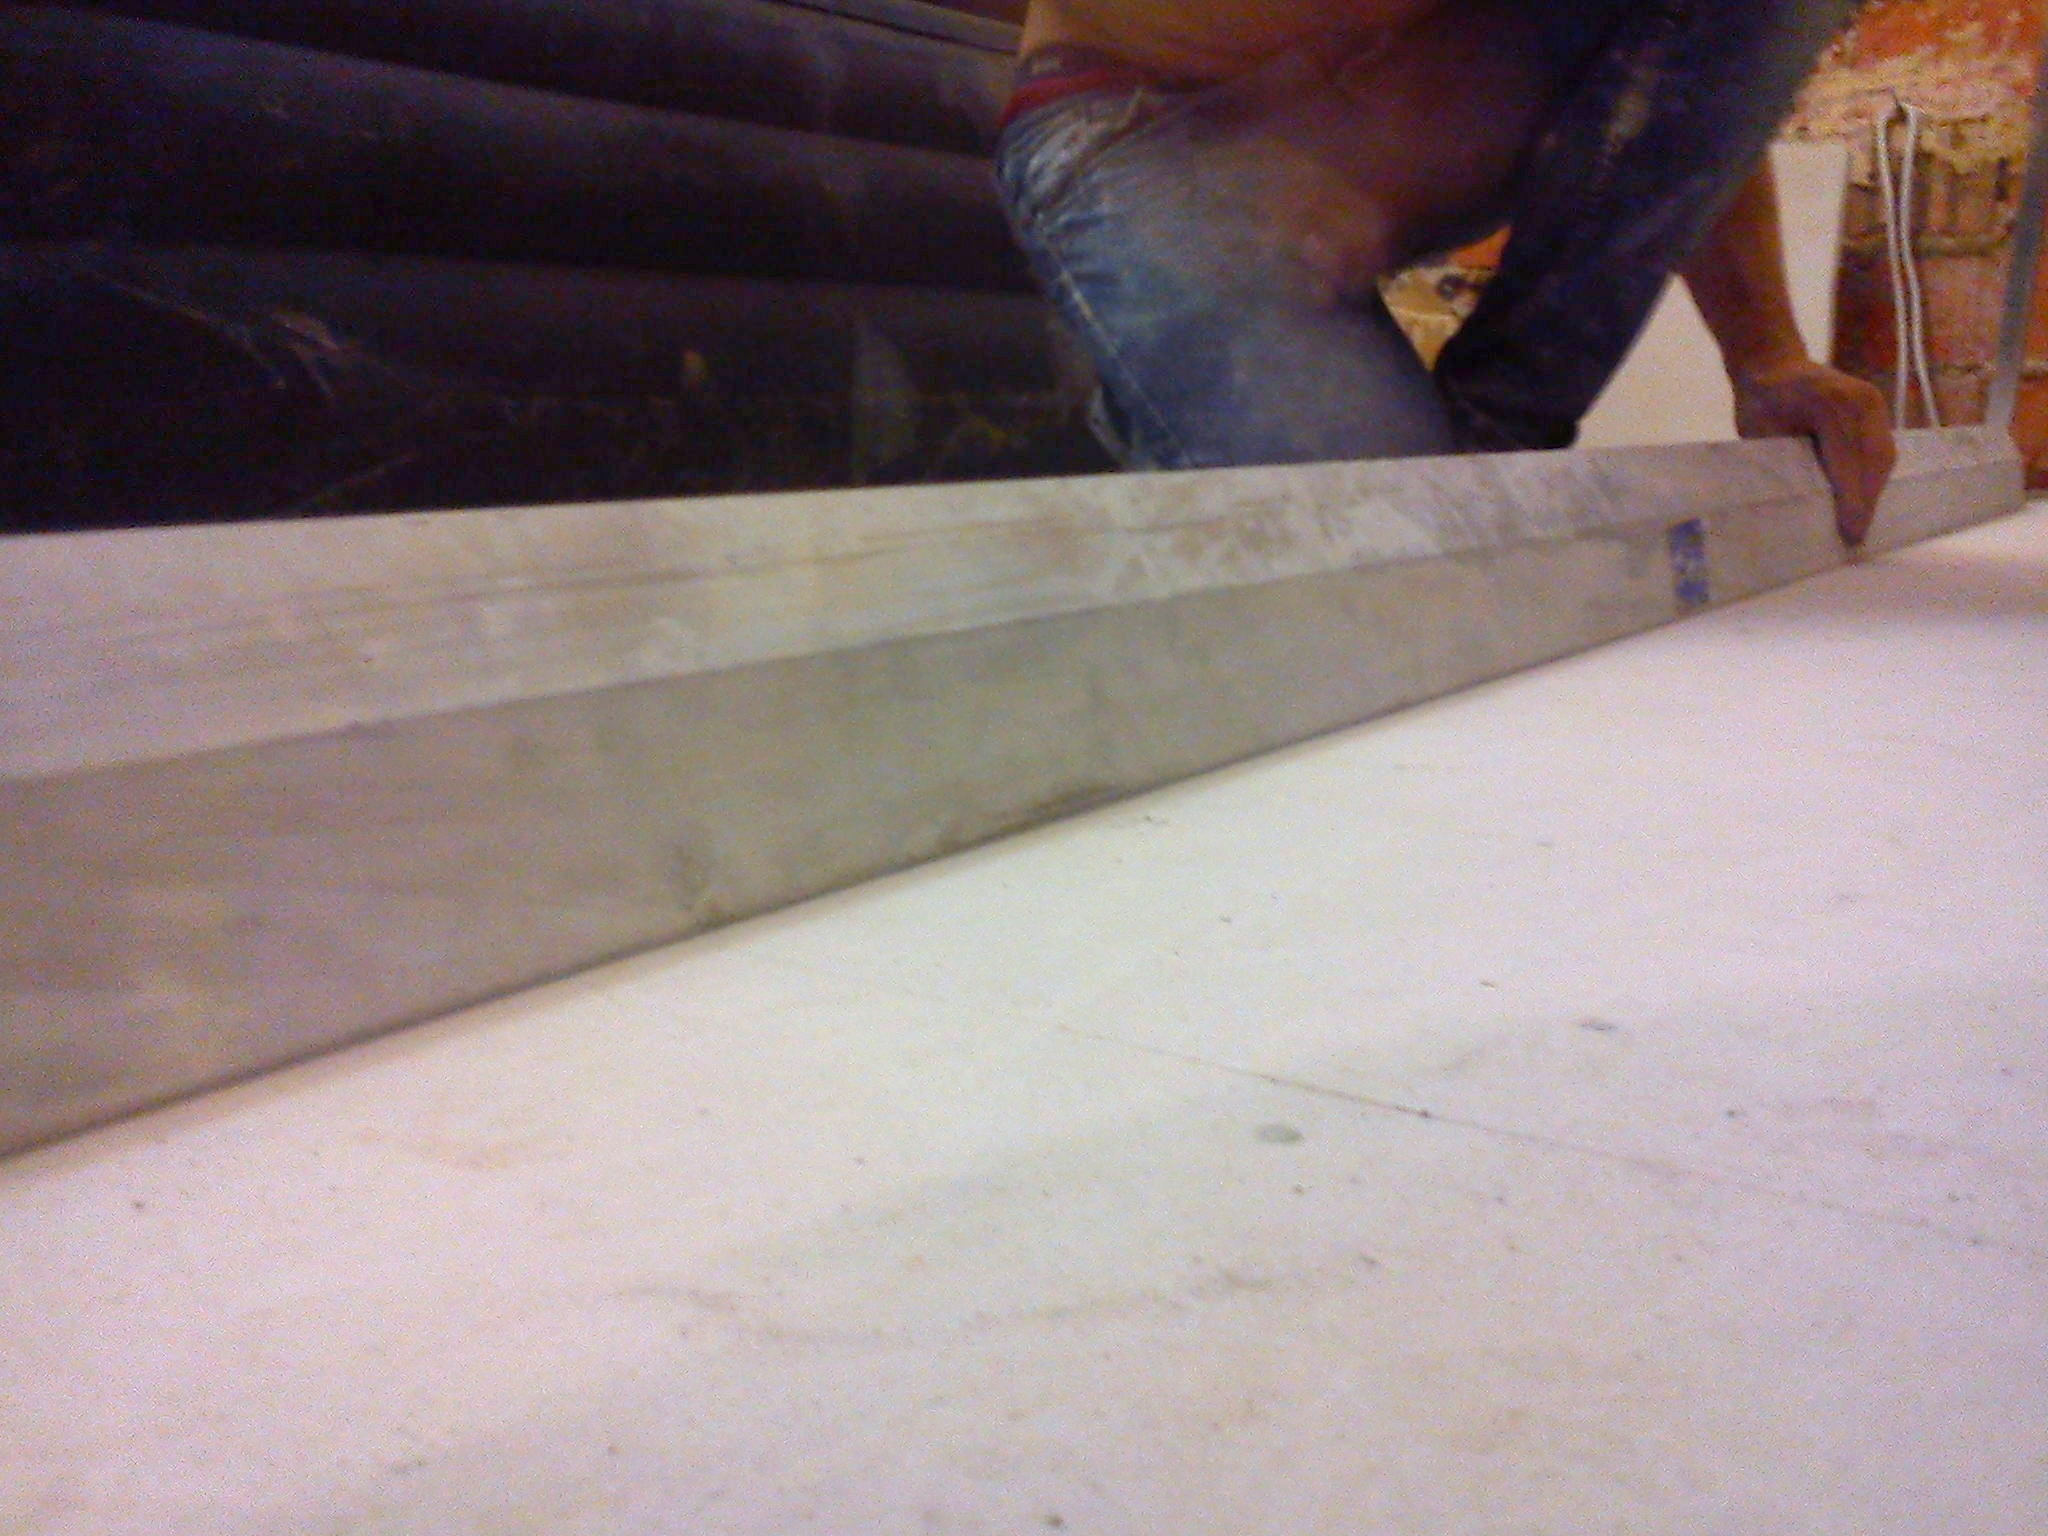
With wooden floors
In houses with wooden floors, the floors consist of two parts - the lower level, which is the ceiling of your neighbors below and top level, the features of the repair of which are discussed. Wooden logs are installed under the parquet. If you are repairing floors in a "Stalin" style, you need to dismantle the upper part of the wooden floor. Logs are changed and new ones are installed. Wide boards are attached perpendicularly to the new joists. On top of the boards, to level the floor and strengthen the structure, we often use Knauf superflooring. Next, the underlay for the floor covering and the floor covering itself are laid.
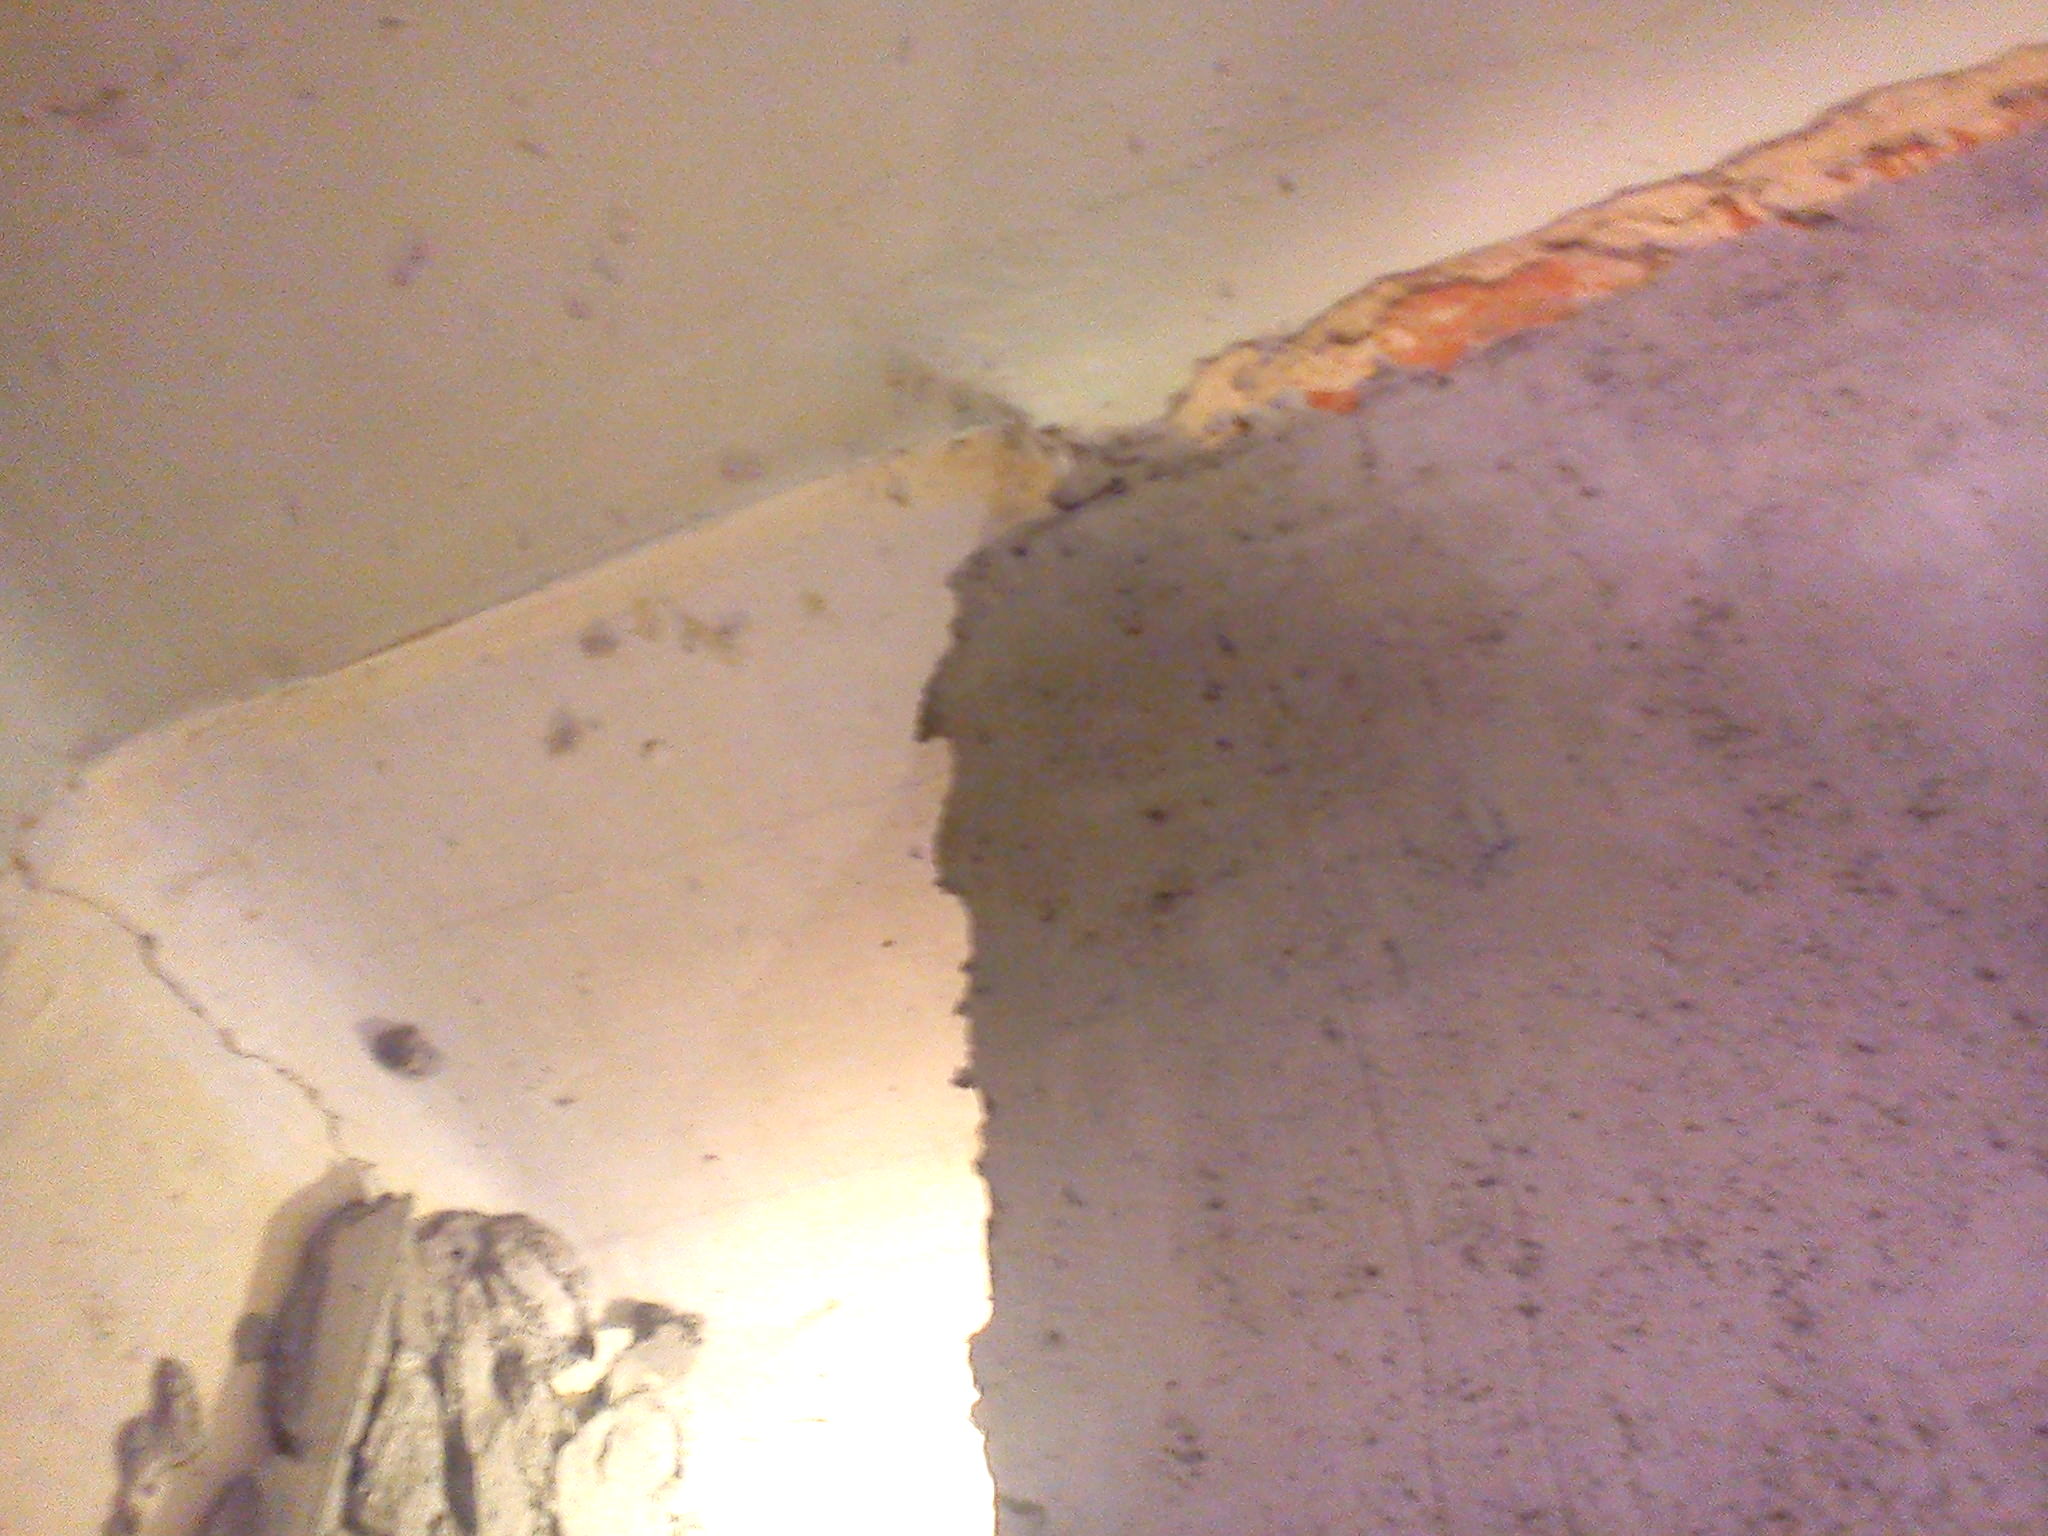
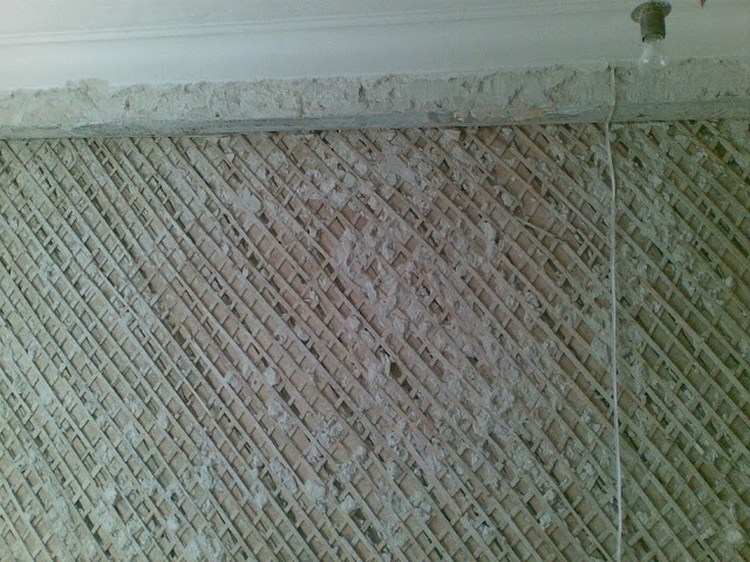
Repair of walls in "Stalin"
When repairing walls in “Stalin” buildings, it is worth starting from their condition before repair. If major repairs in a “Stalinist” apartment have not been carried out since the construction of the house, then most likely the walls were leveled with plasterboards. They need to be dismantled. Depending on whether sound insulation of the walls is required or not, the following options are possible:
- If sound insulation of walls is required, a structure of profiles and guides is arranged. Between them is laid fibrous material(for example Izovol). Then the whole thing is covered with sheets of drywall. To increase the density of the walls, it is recommended to install drywall in 2 layers of 12 mm each. Then, sickle tape is glued onto the joints of the sheets. After this, you can putty the walls and apply interior materials.
- If sound insulation of walls is not required, The surface of the walls is primed and treated with concrete contact. Leveling is carried out using plaster: using beacons or visually. Further treatment of the walls depends on the level of repair and interior materials.
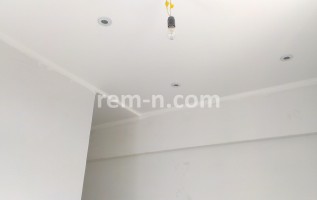
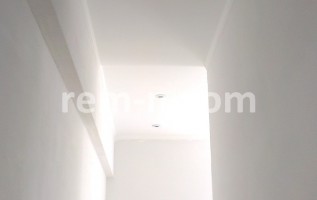
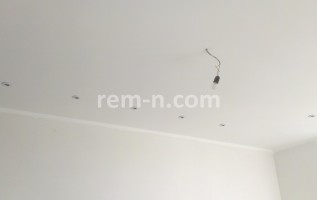
Ceiling repair in "Stalin"
When repairing a ceiling in a “Stalin” style, the main thing you should pay attention to is the type of ceiling. If you have wooden floors, we recommend using ceiling repair technologies that have fastenings to the walls. Such ceilings include: suspended ceilings or dropped ceilings from plasterboard.
Geography of service provision
The repair service in "Stalin" is provided in Moscow, New Moscow and the Moscow region within the Small Moscow Ring.